


How to Guides
How to add white spaces to Triptychs in Photoshop (Elements)
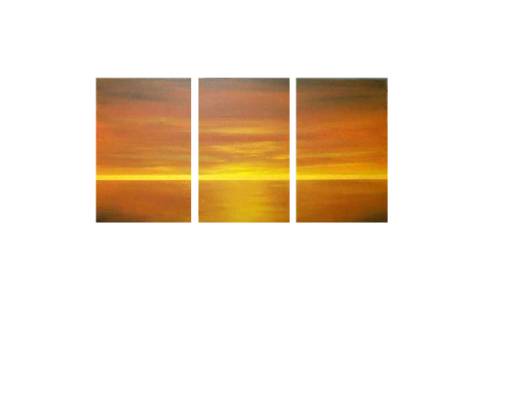
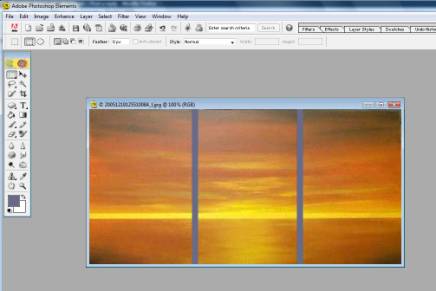
- Photograph the painting with all parts together side by side – so that all 3 parts are in one photo, with a space between them of approximately 1 inch.
- Once you have photographed the painting save it as a jpeg file.
- In Photoshop (Elements) or a similar image editing programme, open up the image.
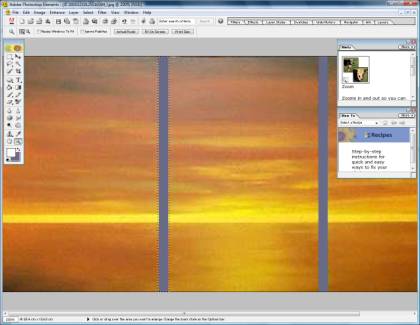
- With the selection tool ( in this case the dotted rectangle tool at the top left of the toolbar), click and drag a rectangular box from top to bottom on the image, between the left hand canvas and the centre canvas as shown below:
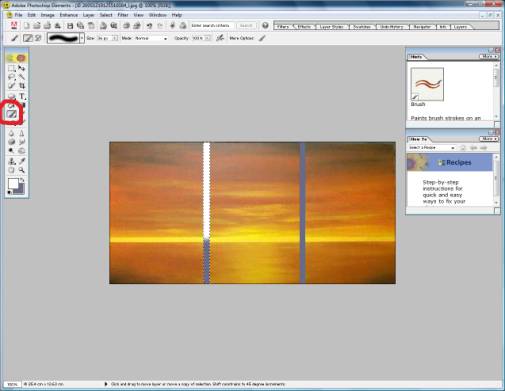
- Then, leaving this selection in place, go back to the toolbar and change tools, choosing a paintbrush and making sure that the main colour on the palette is white (see the two small squares at the bottom of the toolbar on the left of the image). Start to colour in the selected (rectangular) area as shown below
- Once this rectangle is completely coloured in with white, change tools again – back to the selection tool (in this case the dotted rectangle at the top of the toolbar). Then left click and hold down your mouse button while you are on the rectangle to click and drag it into position between the other two canvases, then repeat the colouring in process until you now have two white bands between the canvases as shown.
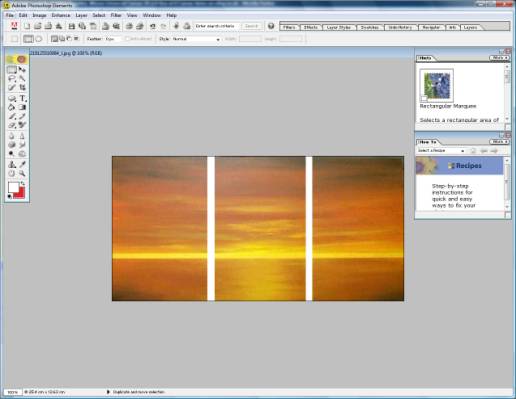
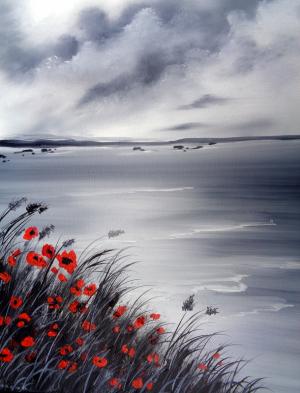
- Resave the image…and that's you done. Now, when you upload the image to a webpage with a white background, it will look like this: